


Caulking window panes is an essential property maintenance skill, especially in Philadelphia’s historic and diverse architecture. Knowing how to caulk window panes is critical to ensuring windows are aesthetically pleasing, energy-efficient, and weather-resistant. The process involves removing old caulk, cleaning the area, and applying new caulk to seal any gaps. This prevents drafts and moisture from entering and protects the window frames from water damage and decay. Effective caulking is essential in historic buildings, where preserving original features while enhancing functionality is crucial. It’s a simple yet significant step in maintaining the charm and integrity of your property.
Premier Building Restoration: Your Partner in Window Maintenance
At Premier Building Restoration, we specialize in a range of restoration services, including expert Caulking & Sealants for window panes. Our team has extensive experience in how to caulk window panes, ensuring that every project meets the highest standards of quality and care. Whether it’s a historic brownstone or a contemporary commercial building, our caulking services are designed to improve the appearance and longevity of your windows. We use the best materials and techniques to provide a seamless finish that looks good and offers long-lasting protection against the elements. With Premier Building Restoration, you can trust that your windows will be a beautiful and durable part of your Philadelphia property.
Tools and Materials Needed for Caulking Window Panes
The primary tool is a caulk gun, an essential device for applying caulk smoothly and evenly. You’ll also need the right type of caulk; for window panes, silicone or acrylic latex caulk is recommended due to its durability and flexibility, which is especially important in the variable climate of Philadelphia. It’s waterproof and can withstand temperature changes without cracking or shrinking.
Along with the caulk and caulk gun, other tools include a utility knife or a caulk remover tool for removing old caulk. This is crucial because applying new caulk over old, damaged caulk can lead to poor sealing and adhesion. A pair of gloves is also important to keep your hands clean and protected during the job. For cleaning the window area before and after caulking, keep a bucket of soapy water or a mild cleaning solution, along with a sponge or cloth.
You might also need a ladder to reach higher windows safely. Safety should be a priority, especially when working on ladders. Masking tape helps protect the window frame and ensures a clean, straight line of caulk. A caulking tool or a small spatula can be very useful for smoothing out the caulk bead. This tool helps to press the caulk into the gaps and gives a neat finish.
Finally, a damp cloth or paper towel is handy for wiping away excess caulk for a clean finish. With these tools and materials, you are well-equipped to begin caulking your window panes, an essential skill for maintaining the energy efficiency and appearance of your property in Philadelphia.
Preparing Your Windows for Caulking
Proper preparation ensures that the caulking adheres well and provides an effective seal against air and water. Start by thoroughly cleaning the window area. This includes removing any dirt, dust, and debris from the window frame and sill. A brush, cloth, or sponge can be used for this purpose. The surface must be clean so that the new caulk can adhere properly.
Next, inspect the window frame for any old caulk that needs to be removed. Old, cracked, or peeling caulk can compromise the effectiveness of the new caulk. Use a utility knife or a caulk remover tool to scrape away the old caulk carefully. Take care not to damage the window frame during this process. Once the old caulk is removed, clean the area again to remove any residual particles or dust.
If there are any gaps or cracks in the window frame, they need to be addressed before applying new caulk. Small cracks can be filled in with caulk, but larger holes may require a different approach, such as using a foam backer rod to fill the space.
After cleaning and making any necessary repairs, it’s advisable to use masking tape to tape off the area around the window. This will help create a clean, straight edge for your caulk line and protect the surrounding areas from excess caulk. Apply the tape about a quarter-inch from where the caulk will be applied.
Once the window frame is clean, free of old caulk, and taped off, it’s ready for the new caulk. This preparation process is critical for property owners and preservationists in Philadelphia, ensuring that their caulking job is effective and contributes to the overall aesthetic and preservation of the property.
Step-by-Step Guide to Applying Caulk to Window Panes
Begin by inserting the caulk tube into the caulk gun. Cut the tube tip at a 45-degree angle, allowing for better precision when applying the caulk. Before starting on the window, practicing a few lines on a piece of cardboard is a good idea to get a feel for the flow and pressure needed.
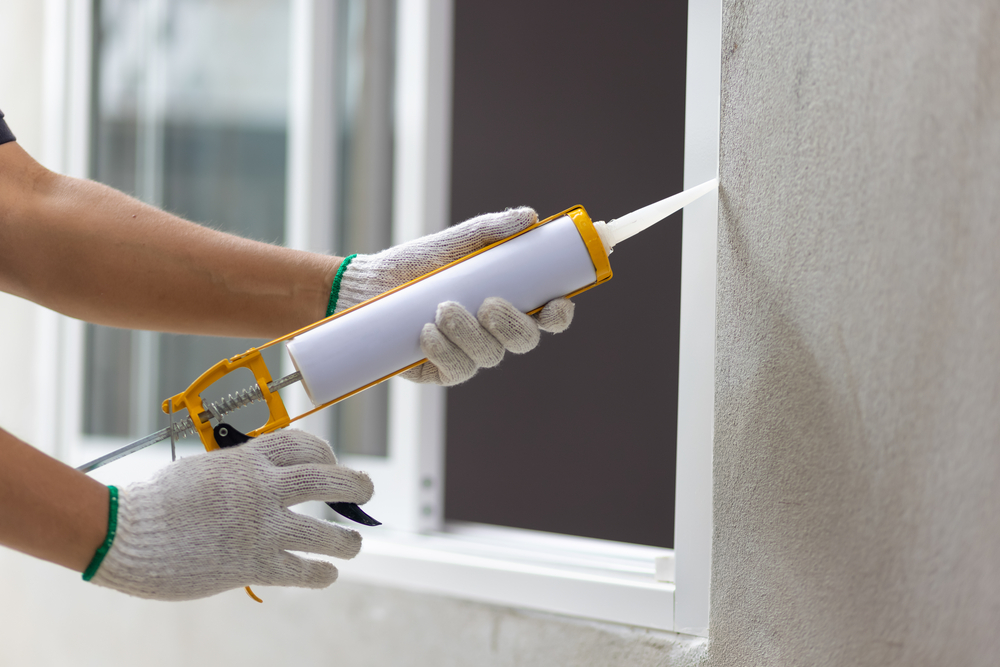
Start at one corner of the window and position the caulk gun at the joint where the frame meets the wall or the window itself. Gently squeeze the caulk gun’s trigger and move it smoothly along the seam to apply the caulk. Keep the gun moving consistently to ensure an even bead of caulk. It’s better to apply too little caulk than too much, as you can always go back and add more.
As you reach the end of a seam, release the trigger and pull the gun away quickly to stop the flow of caulk. If you have used masking tape, the caulk should be within the boundaries you set. It’s time to smooth it out after applying caulk to all the necessary seams. Wet your finger or a caulking tool and lightly run it over the caulk line. This will press the caulk into the gap, giving it a neat, finished appearance.
Once you’re finished smoothing the caulk, remove the masking tape while the caulk is still wet. This ensures a clean, sharp line and prevents the tape from sticking to the dried caulk. Let the caulk dry according to the manufacturer’s instructions – usually, it takes about 24 hours to cure fully.
This step-by-step guide to applying caulk to window panes is an essential skill for homeowners in Philadelphia, helping to improve energy efficiency and prevent water damage.
Tips for Achieving a Smooth and Even Caulk Line
The key is preparation and technique. First, choose the right type of caulk for your windows – silicone or acrylic latex are commonly recommended for their durability and ease of application. When cutting the caulk tube’s tip, do so at a 45-degree angle; this allows more precision in the application. The hole size should correspond to the size of the gap you’re filling. Before starting on the window, practice applying the caulk on a piece of cardboard to get a feel for the gun’s pressure.
Using masking tape along the edges of the area to be caulked can significantly assist in achieving straight lines. Apply the tape parallel to the seam, leaving just enough space for the caulk to lay down. When applying the caulk, hold the gun at a constant angle and apply sturdy pressure to the trigger to ensure an even flow. Start at one end of the seam and move smoothly towards the other end, keeping the gun moving at a constant speed. Avoid stopping midway, as this can create bumps or irregularities in the caulk line.
Once the caulk is applied, it’s important to smooth it out promptly. You can use a damp finger, a caulk finishing tool, or even a small, wet brush. This step not only presses the caulk into the gap but also removes excess and creates a smooth, professional finish. Remember to dip your finger or tool frequently in water to prevent sticking and to achieve a cleaner line.
Work in small sections, especially if you’re new to caulking. This gives you more control and helps stop the caulk from drying before you smooth it out. If you do make a mistake, or if the line isn’t as straight as you’d like, you can easily correct it with a damp cloth while the caulk is still wet.
Finally, patience is key. Don’t rush the process. Take your time to apply the caulk carefully and smooth it out thoroughly for the best results. By following these tips, homeowners and preservationists in Philadelphia can effectively seal their window panes, enhancing their properties’ appearance and efficiency.
Enhance Your Windows with Premier Building Restoration
Looking for professional caulking and sealant services for your windows? Turn to Premier Building Restoration for unparalleled expertise in how to caulk window panes. We are dedicated to providing high-quality restoration services that enhance your property’s beauty and efficiency. Contact us today to ensure your windows are perfectly sealed, protected, and preserved.