

Terracotta, a material as ancient as civilization, has been an integral part of architectural beauty and function for thousands of years. Its warm, earthy tones and durability have made it a favorite for builders and artists alike. However, like all materials, terracotta requires care and sometimes restoration to maintain its original splendor. Terracotta restoration is a specialized field that involves repairing, cleaning, and preserving terracotta structures, ensuring they continue to stand the test of time.
The History of Terra Cotta
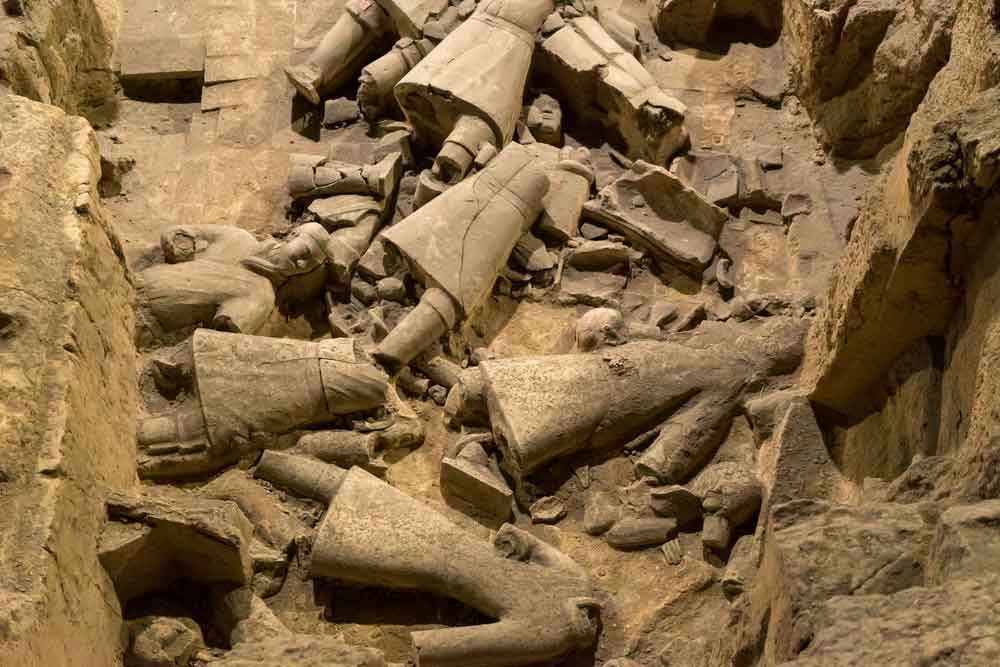
Terracotta, Italian for “baked earth,” has a history as rich and varied as the cultures that have utilized it. Dating back to around 3000 BC, this material was first used by the Harappan civilization in the Indus Valley. The Greeks and Romans further popularized terracotta, using it for everything from roofing tiles to intricate sculptures. During the 19th and early 20th centuries, terracotta saw a resurgence in popularity, particularly in the United States and Europe, as it was used extensively in the Beaux-Arts and Art Deco architectural styles.
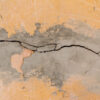
The material’s ability to be molded into intricate designs made it an attractive option for decorative façades, while its fire resistance added a practical appeal. Over time, however, exposure to the elements, pollution, and general wear and tear can lead to the deterioration of terracotta. This is where terracotta stone restoration comes in, as specialists work to repair cracks, replace damaged pieces, and clean away years of dirt and grime.
Types of Terracotta
Terracotta comes in various types, each with unique characteristics and uses. Architectural terracotta, often found on historic buildings, is molded into elaborate shapes for decorative purposes. It is typically hollow, which reduces its weight and makes it easier to attach to structures. Another type, glazed architectural terracotta, has a glass-like surface that can be colored or left translucent, adding a layer of protection against the elements.
Garden terracotta, used for pots and ornaments, is another common form. It is usually unglazed, allowing air and moisture to reach plant roots. Roofing terracotta includes tiles and shingles, offering a durable and fire-resistant roofing solution. Each type of terracotta requires a specific approach to restoration, taking into account factors such as its location, function, and the extent of the damage.
Step 1 – Cleaning
Terracotta, with its porous nature, tends to accumulate dirt, grime, and even moss or algae over time, especially when exposed to outdoor elements. Cleaning is the first and vital step in the terracotta restoration process. It not only enhances the appearance of the piece but also ensures that subsequent restoration efforts are effective.
To clean terracotta, it’s crucial to use gentle methods that won’t damage the material. Soft bristle brushes or sponges are often used to scrub away surface dirt. In cases where more stubborn stains or organic growth is present, a mild detergent solution can be applied. It’s essential to avoid harsh chemicals or high-pressure washers, as these can erode the surface or push water into the terracotta, leading to further damage.
After cleaning, the terracotta should be rinsed thoroughly with clean water to remove any detergent residues. Then, it must be allowed to dry completely before proceeding to the next step. This is particularly important because any moisture trapped inside can cause problems during the repair process.
Step 2 – Repairing Cracks and Breaks
Once the terracotta is clean and dry, the next step in terracotta restoration is to address any physical damages, such as cracks or breaks. These damages not only affect the appearance but can also compromise the structural integrity of the terracotta piece.
For minor cracks, a specialized terracotta filler or adhesive can be used. This filler should match the color and texture of the original material as closely as possible. The area around the crack is first cleaned to ensure good adhesion, then the filler is applied and smoothed out to blend seamlessly with the surrounding area.
In cases of more significant breaks or missing pieces, it might be necessary to replace entire sections of the terracotta. This involves carefully removing the damaged portion and replacing it with a new piece that matches the original in terms of color, texture, and design. It’s vital to ensure the new piece is securely attached, often using specialized adhesives or fasteners designed for terracotta.
Step 3 – Weatherproofing
Terracotta’s charm is undeniable, but its vulnerability to weather elements can’t be ignored. Hence, weatherproofing becomes an indispensable part of terracotta restoration. Since terracotta is inherently porous, it readily absorbs water, making it susceptible to frost damage, mold growth, and efflorescence (white, powdery mineral deposits).
To protect terracotta from these adversities, a good-quality weatherproofing sealant is applied. This sealant acts as a barrier, preventing water absorption while allowing the terracotta to breathe. It’s crucial to select a sealant designed explicitly for terracotta to ensure it doesn’t discolor or compromise the material’s integrity.
Before applying the weatherproofing solution, the terracotta surface must be immaculately clean and dry. The sealant is then applied evenly, using brushes or sprayers, ensuring all surfaces, nooks, and crannies are covered. After the application, it’s essential to allow adequate drying time as recommended by the sealant manufacturer.
Step 4 – Varnishing
The final step in the terracotta restoration process is varnishing, which serves a dual purpose: it adds an aesthetic finishing touch and provides an additional layer of protection. The varnish gives terracotta a polished look, enhancing its natural color and making it more vibrant.
Choosing the right varnish for terracotta is vital. It should be UV-resistant to prevent color fading and be flexible enough to accommodate the natural expansion and contraction of the material without cracking. Additionally, the varnish should be moisture-resistant to further protect against weather elements.
The application involves using a brush or roller to spread a thin, even coat of varnish over the terracotta surface. Depending on the product, multiple coats might be necessary to achieve the desired finish. It’s crucial to let each coat dry thoroughly before applying the next.
With the varnish in place, the terracotta piece not only shines with renewed beauty but also stands ready to face the challenges of its environment, ensuring its longevity and appeal for years to come.
Reviving the Beauty of Ancient Clay: A Glimpse Into Terracotta Restoration
Terracotta, a time-honored material, has graced our buildings and homes with its earthy charm for centuries. But like all things, it too faces wear and tear from the elements. Terracotta restoration is the art and science of bringing this age-old material to life. It’s not just about fixing cracks or applying a fresh coat of sealant. Restoration dives deeper, understanding the very essence of terracotta, from its rich history to the types available. Cleaning, repairing, weatherproofing, and varnishing are systematic steps taken to ensure that the terracotta not only looks its best but also stands resilient against future adversities. The process ensures that the legacy of terracotta remains intact for future generations to admire and cherish. With the proper care, this beautiful clay can continue to tell its tale for many more years.